
 About a week ago, the Norwegian company Gastronaut gave me a good offer on a Primo Oval XL grill (this happened sort of by chance via my BBQviking Instagram account, btw!). I had been researching kamado style grills and other types of smokers for a long time already, thinking about upgrading from my two standard Weber kettles. I long considered Weber’s WSM, some insulated smokers like the Chubby from Backwoods Smoker, and other alternatives.
The more I researched and thought about it, the more a kamado style grill/smoker looked like the best alternative for me. It would allow me to get a better grill for hot and fast type cooking (especially for Norwegian winter conditions) and a smoker at the same time. Best of both worlds. The Oval shape of the Primo appealed to me, and seemed to give me the most cooking space for my buck -. Which is important, because I often cook for 8+

That one time the inside of a kamado was clean and bright. This can’t last
people. I had been eyeing the Big Green Egg too of course, but they seemed way overpriced, especially here in Norway
Last Monday, the magic happened – I could pick up my new Primo Oval XL from the dealer. It barely fit in my boxy, boring people mover, and it was heavy! Had to call a friend to help me come over and put it on a makeshift table/stand I had built for it! I opted for the model with no stand, because I have some plans for a simple outdoor kitchen/bench this spring on my deck anyway. More on that later!
I have had 4 cooks on the thing this week. A couple normal grilling sessions with direct and indirect cooking, and one long, low and slow cook last Saturday, with two big pork butts and some Norwegian beef ribs – aka “bibringe”. 
So, what are the biggest differences between the Primo and my two Weber Performer grills? Let me give you a list of things I noticed using the Primo this first week:
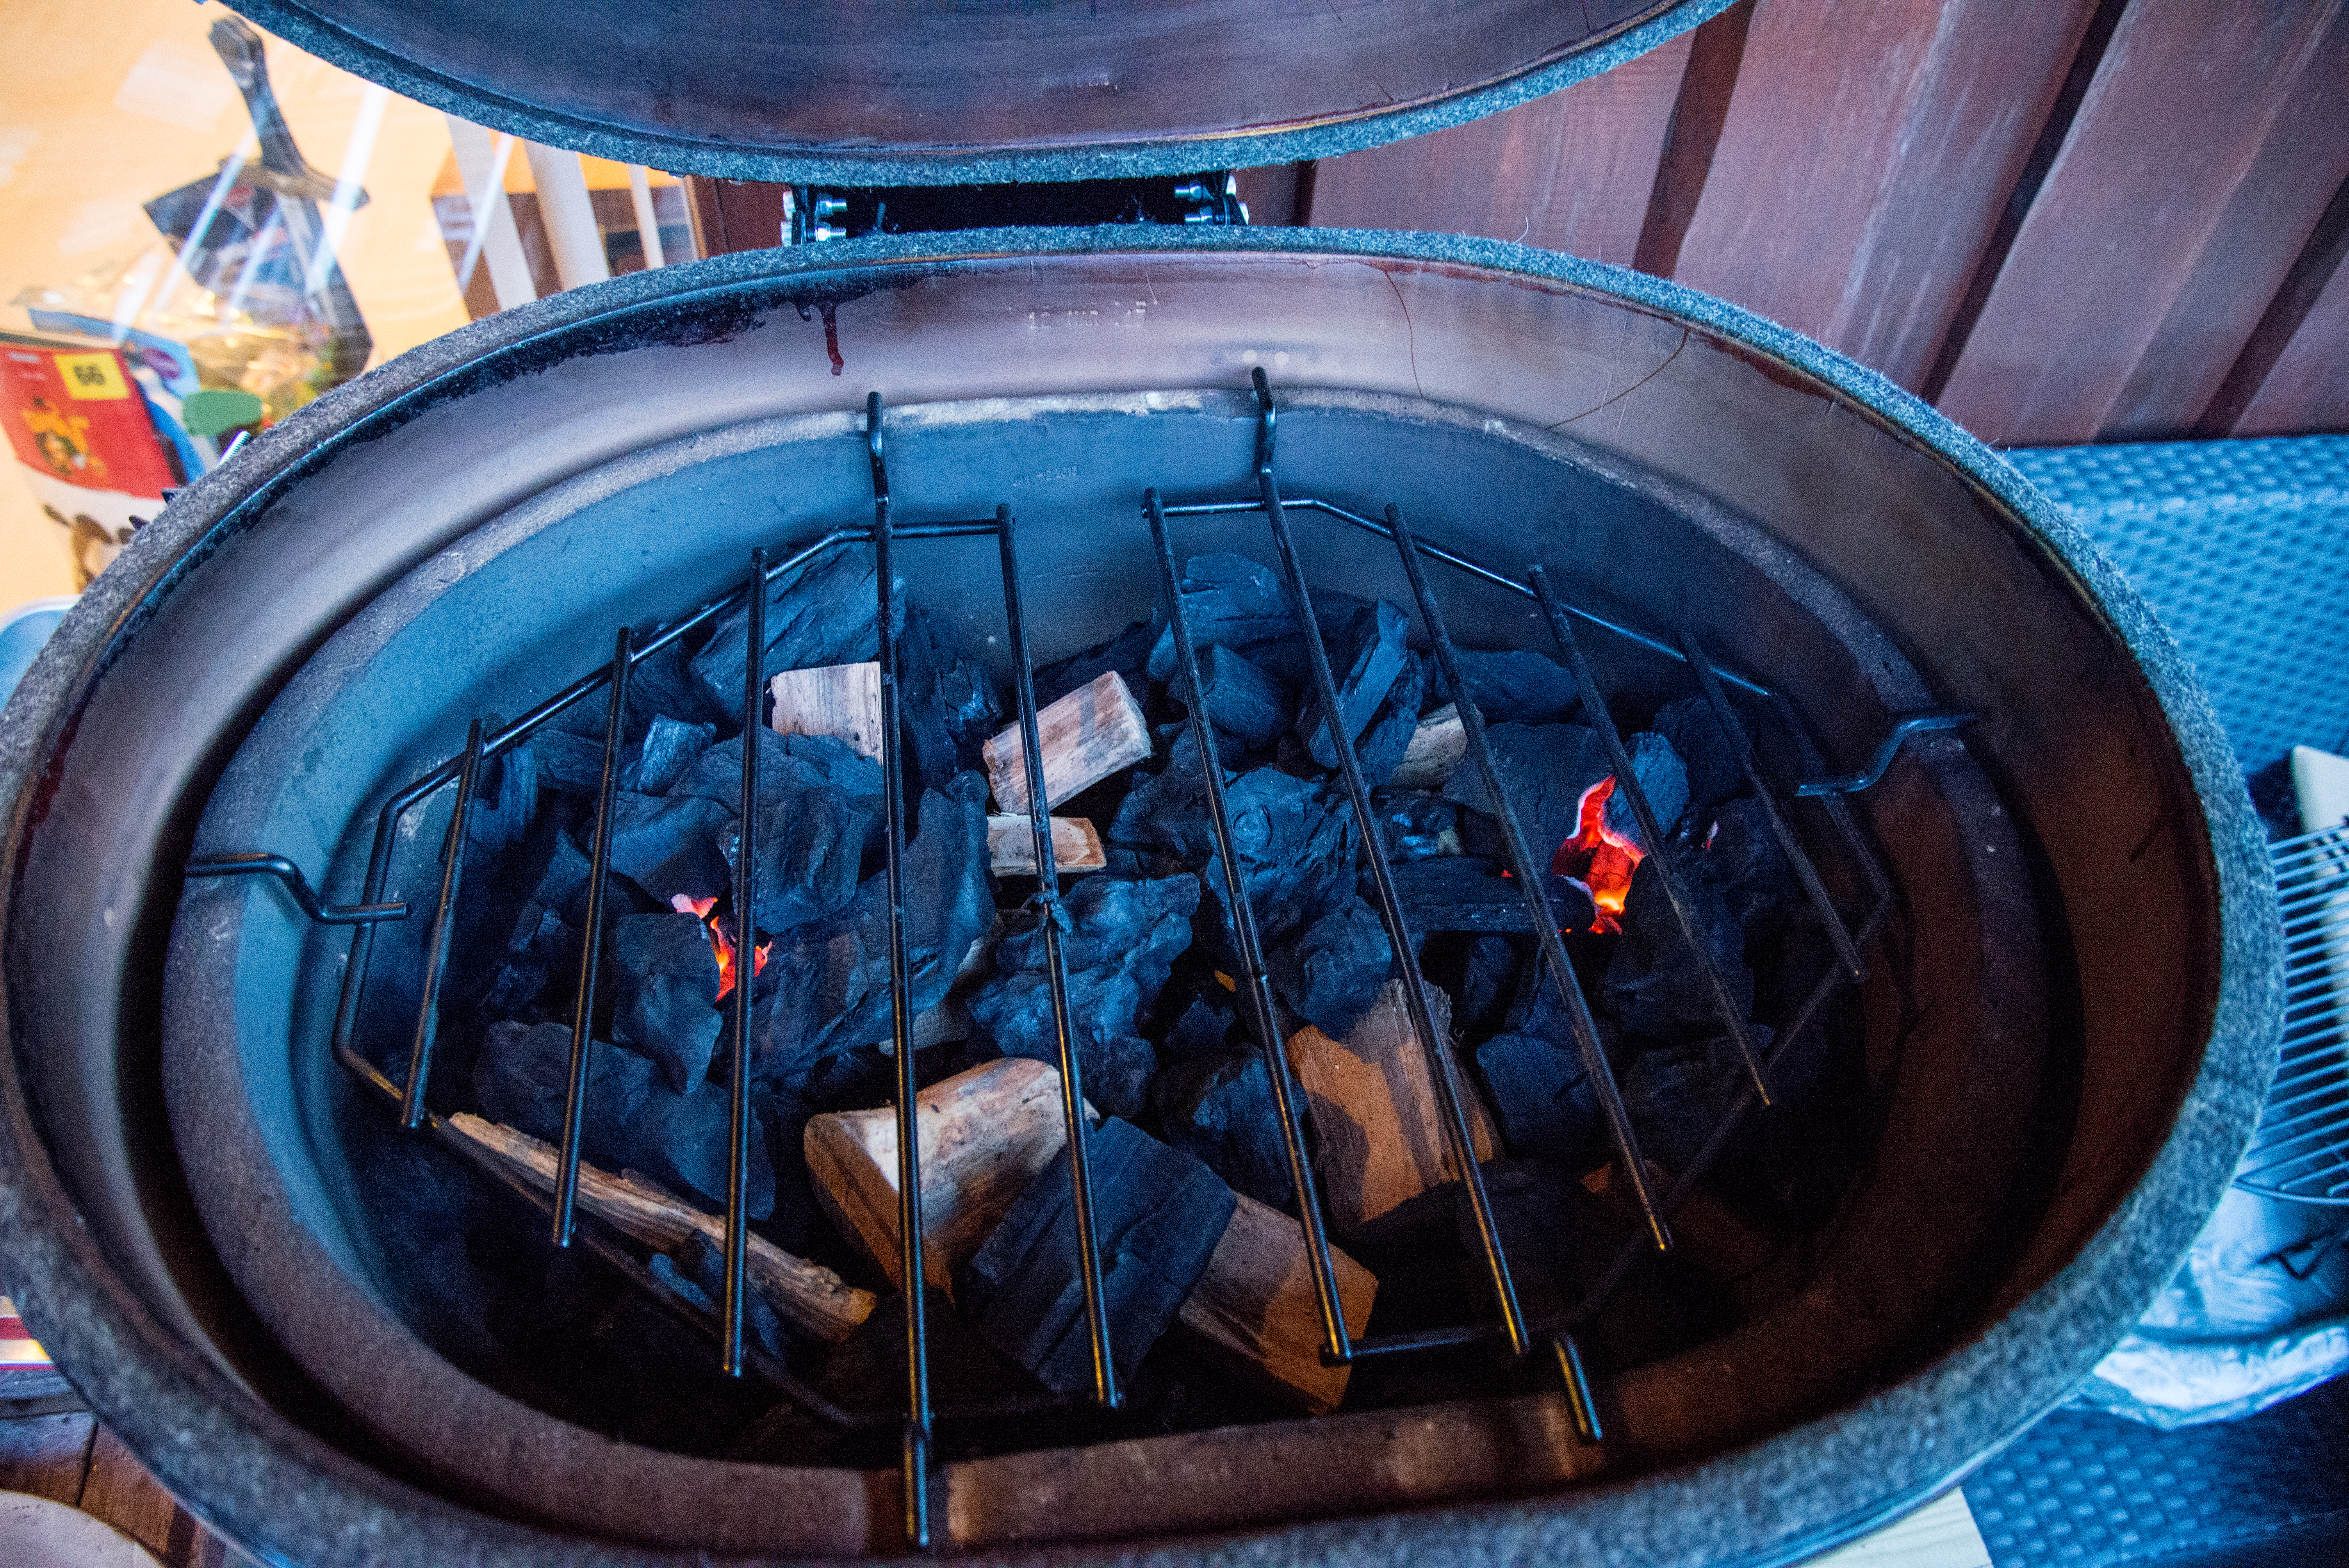
- First off – you don’t use a chimney starter on the primo. It only takes lump charcoal, no briquettes, and I have been using alcohol based tablets to fire it up. The old paper towel drenched in vegetable oil trick works well too. Never use starting fluid in a ceramic grill, says all the manufacturers.
- The charcoal capacity of the thing is huge, and it seems to work best when it’s filled up – even if I’m doing a short cook. Once I’m done I just close the vents, and out the flame goes, leaving a ton of charcoal for next cook. Quite simple really.
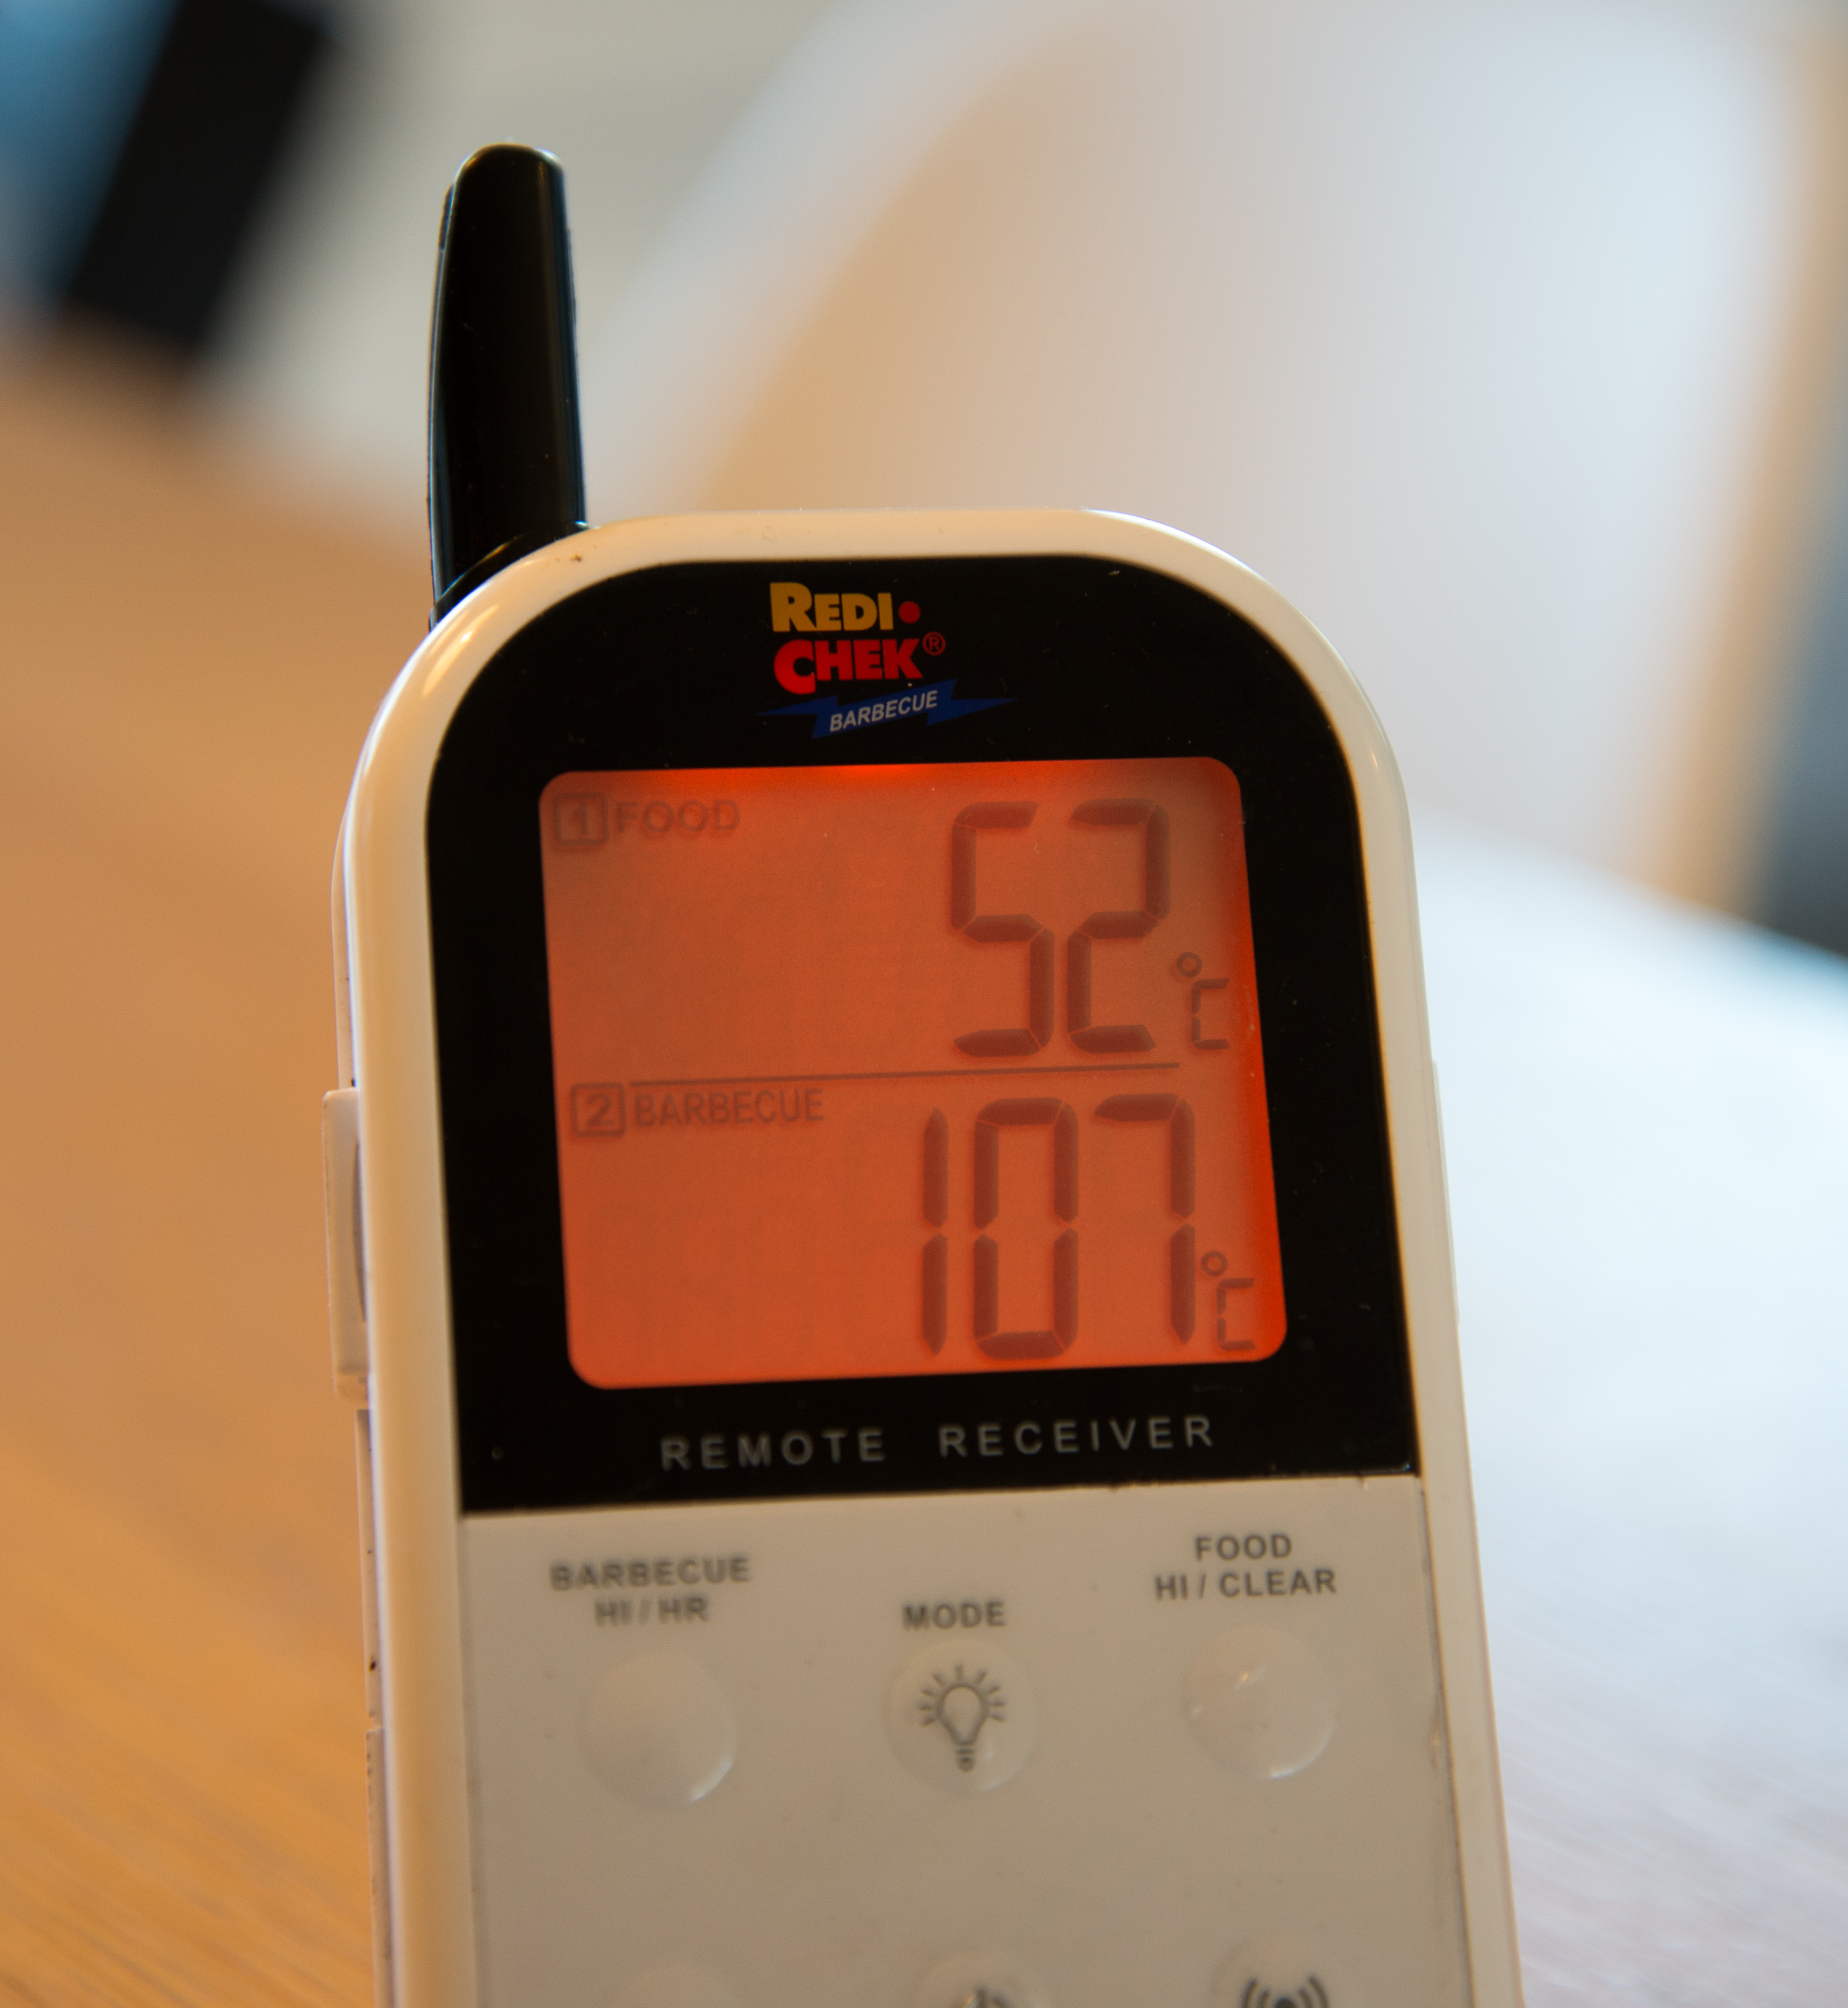
 It was very easy getting used to the vents and managing temperature – but then I have practiced A LOT on the Weber kettles doing this. Having a remote two-probe type thermometer seems almost a necessity on this type of grill. I use the Maverick ET-732.
- For me so far, it takes a bit longer to get the Primo up to temp then it takes on my standard kettles. This kind of makes sense, due to the sheer mass of the Primo. 90 kg or about 200 pounds of ceramic needs to get heated up. When adding the deflector plates, that adds more weight too. Also I think the different lighting technique makes it take a while longer
- Once it’s up to temp however, it stays there very nicely. Patience is important, the amount of mass introduces a delay in temperature changes, so oversteering it could become an issue if you’re not patient enough.

- Smoke management is also quite different. Especially doing low and slow with the two deflector plates installed, I have no easy way of adding smoke during the cook. This means chunks spread out in the coal pile are a lot better than the chips I’m using on my standard kettles. If you’re grilling without deflector plates, direct/indirect for instance, adding chips is of course very easy
- With a grill like this that is very airtight, it seems to keep the moisture content in the meat on slow cooks a lot higher. Holding my hand above the chimney (not recommended on hot cooks btw!) I can feel the moisture coming out of the thing. I have never noticed this on my standard kettles.
- The ceramic makes it a lot less susceptible than the standard kettles to changes in weather. On those things I would notice if the sun came out, or if the wind direction changed, and had to adjust accordingly. Because of the huge mass, the Primo seems unaffected. Can’t wait to try it out in real winter conditions next winter!
- The low and slow cook I did this weekend was quicker than my experiences with the Weber kettles, even though I had the same grate/dome temperature range as I normally have. I think this could be attributed to several things, but the higher mouisture content inside seems a likely contributor, as well as being able to keep the lid on for a lot longer than I do on the kettles. Running at a range mostly between 130-150 degrees C (265-320F) this weekend, one of the 12 pound pork butts I had was done after only 8 hours.
-

This stuff burns very steady and long in the Primo!
Another big thing with Primo – it burns really clean. I filled up the chamber with coal for the above cook, and cooked for about 12 hours total, closed the vents – and more than 1/3 of the charcoal (Wicked Good Weekend Warrior type) I put in was still there the next day. That’s pretty impressive. Scraping the ashes out of it there was not a whole lot of those either.
- I learned something else too on one of these first cooks. Make sure the two deflector plates make contact in the middle, even a small gap here will burn your food where the gap is!
- Lastly, the beef ribs I made on the Primo this weekend came out WAY better than my 7-8 previous attempts at those on standard kettles. More testing will be needed but it seems attributable to the grill that I would nail it on the first try when I have had so many tries before. Don’t get me wrong, they’ve been good before too, but nothing like what came out of this thing in terms of tenderness+juicyness.

All in all, I am very pleased with my newest grill so far. The only downside I see is that it takes a little while to get it up to temp, but I will be working on testing different methods and ways, some of that could be my lack of experience with kamado style grills too.
Full disclosure: I got a good price on this grill+accessories to have it appear on my blog at times in photos etc (which it would’ve without the discount too, to be honest). But then I figured it would be fun to write some about my experiences with it too as I know a lot of people are looking at kamado style cookers these days.

Oh that’s the stuff! Oh yes!!! Fantastic write-up too!
appreciate it! will write more about it when i have had some more time with the beast. loving it so far though!
Don’t use the Maverick. Purchase a product from a USA company, BBQ GURU. This product controls a fan that fits against the firebox vent where you can control the heat as well as the cooking temp of the meat. It’s light years ahead of the Maverick. And you will soon learn that Mavericks will quit working after about 6-10 uses
I don’t really agree with you on the Maverick. Had mine two years now, and it still works. That the probes get worn out after X amount of uses is something I believe is a feature of the type of technology, not the brand. My probes have lasted two years and probably 50-60 uses or more. I do agree BBQguru has some interesting fan control systems, but a fan control system really isn’t a replacement for a wireless 2-probe thermometer the way I see it.
Pingback: BBQ 101 – Smoked leg of lamb | BBQviking.com
Pingback: BBQ Grunnkurs – Røkt lammelår | BBQviking.com
Great article! I bought my Primo Oval XL in october (40% discount at Gastronaut), and have used it through the whole Norwegian winter. There is no problem cooking pork shoulders for 24 hours as low as 80 degrees celcius, that makes delicious pulled pork.
Pingback: BBQ Grunnkurs – Perfekte, saftige kyllingfileter med nydelig røyksmak (og bacon!) | BBQviking.com
Pingback: BBQ101 – Perfect, juicy smoked chicken breast filets (with bacon!) | BBQviking.com