a chimney starter is awesome, and it lets you talk about convection, which is always a good thing.
Every spring/early summer, my neighborhood, and all others around Norway and many other countries, fill up with the digusting smell of grill lighter fluid. Lighter fluid is horrible stuff. Here in Norway it’s actually very very similar to kerosene. It’s seriously something you don’t want coming near your food in any shape or form. So do everyone, most of all yourself and your family, a favor and go invest in a chimney starter. I’ve used the Weber one for years, it’s still holding up fine. It’s an ingenious device, that lets you fire up a bunch of lump charcoal or even briquettes in no time, using only some crumpled up newspaper with vegetable oil for a starter. It also saves tons of time, especially briquettes take a LONG time to get ready if you’re doing it down on the grill grate.
So in conclusion, a chimney starter is cheaper to run, more envorinmentally friendly, better for your health, quicker, much more awesome to look at, and it makes women lust for you. Only time I don’t use one is when I go camping, because it’s kind of big to carry into forests.
So, I’ll wait here, while you run off and buy yourself a chimney starter. There you go.

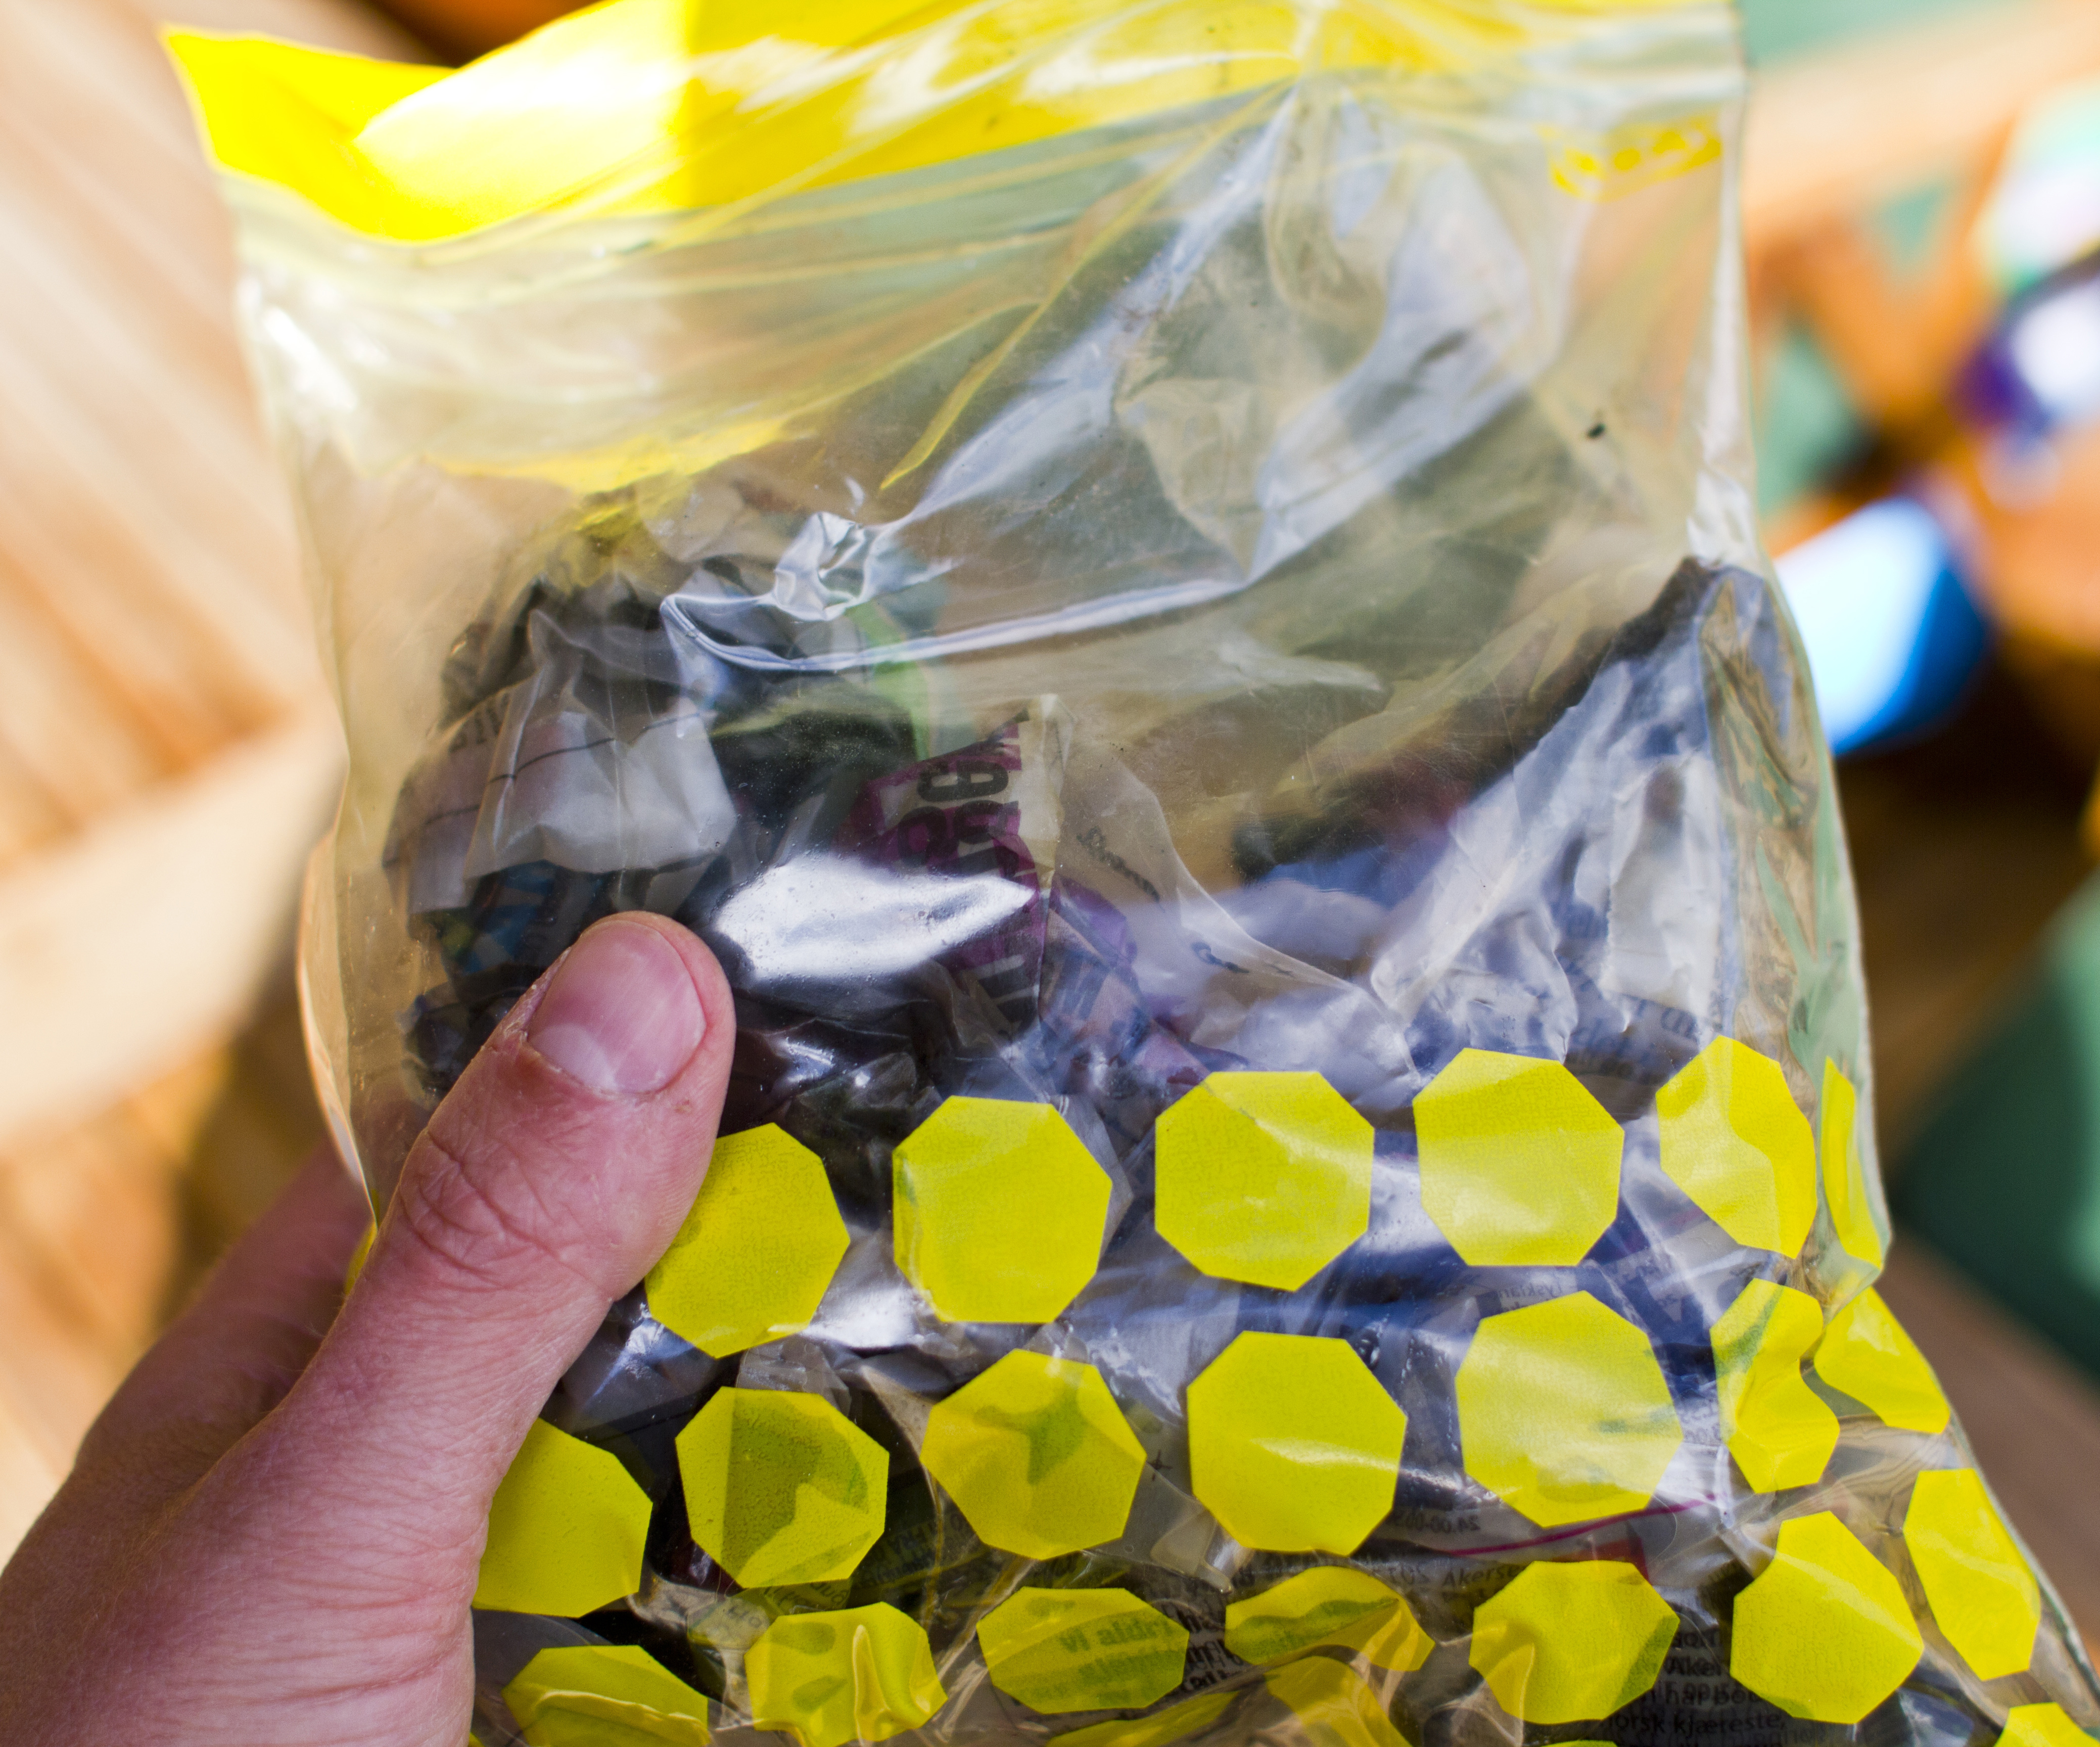
Just keep a ziplok style bag with newspaper and a few spoons of food oil in your BBQ stash.
Now, this is easy. I usually soak a few crumpled up balls of newspaper or kitchen towel in some cheap vegetable oil or cooking oil (see, no poison!), as you can see on the picture to the left. Put them newspaper on the top grate of your grill or some other fireproof surface (never stone, concrete or cement surface, these can “explode” and crack because of the heat, see the picture below…), set your firestarter on top and fill it up with briquettes or lump charcoal.

After a couple more minutes, you’re ready to grill!
Sneak a match in there and fire up the newspaper. Because of the chimney shape things will happen quickly, so always keep an eye on the starter. Once the flames lick over the top of the chimney, you are ready to go. Put on your favorite BBQ gloves and pour them carefully onto the grill grate of your grill. Now get to cooking!
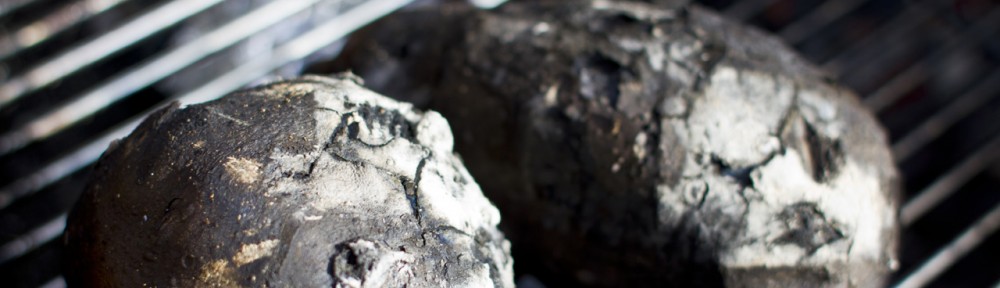
Here’s a shot of what happened when a guy put his starter on a concrete sidewalk. The concrete actually exploded, bits of white hot concrete flying everywhere. Fortunately nobody got hurt. So don’t do that.

Don’t put your starter on cement, concrete or stone surfaces. They could explode, like this unfortunate chap found out!
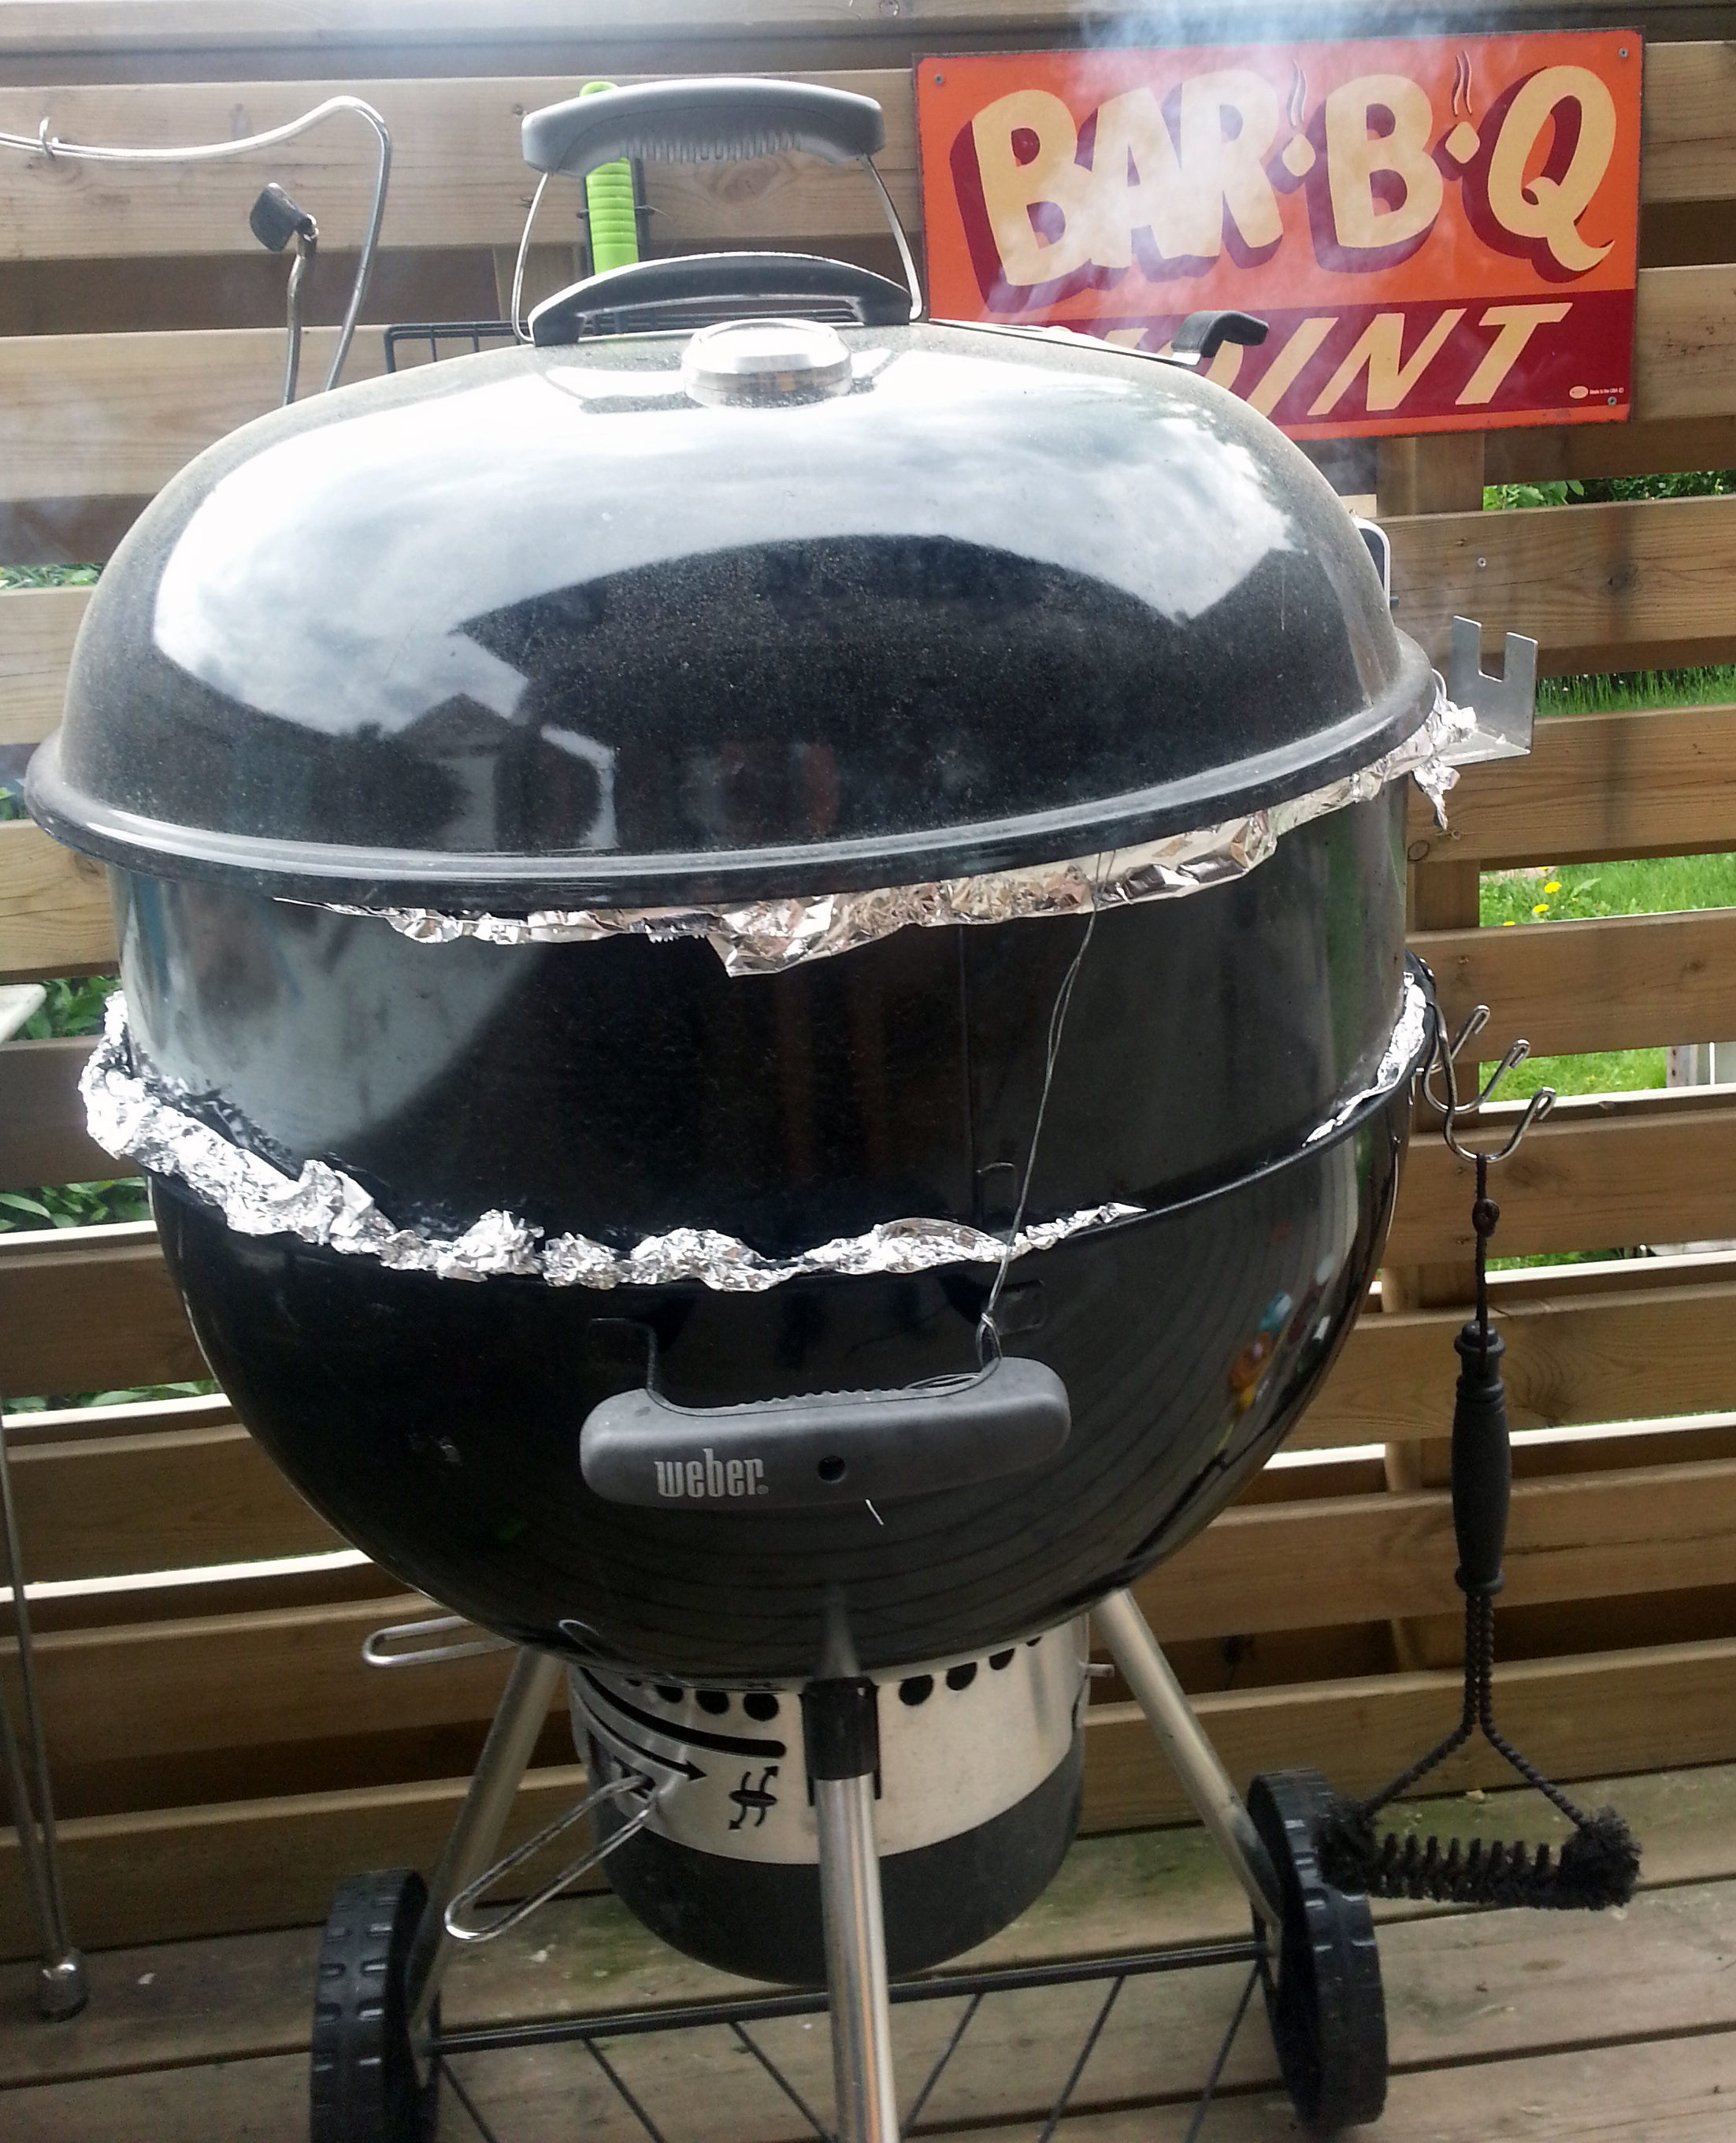
 This worked great, the rig helg up for the 12+ hours I needed for the cook, so all is well. The moral of the story is: Keep some stuff floating around your yard/house/apartment. It could come in handy someday. Also; keep extra rolls of tinfoil. Everywhere.