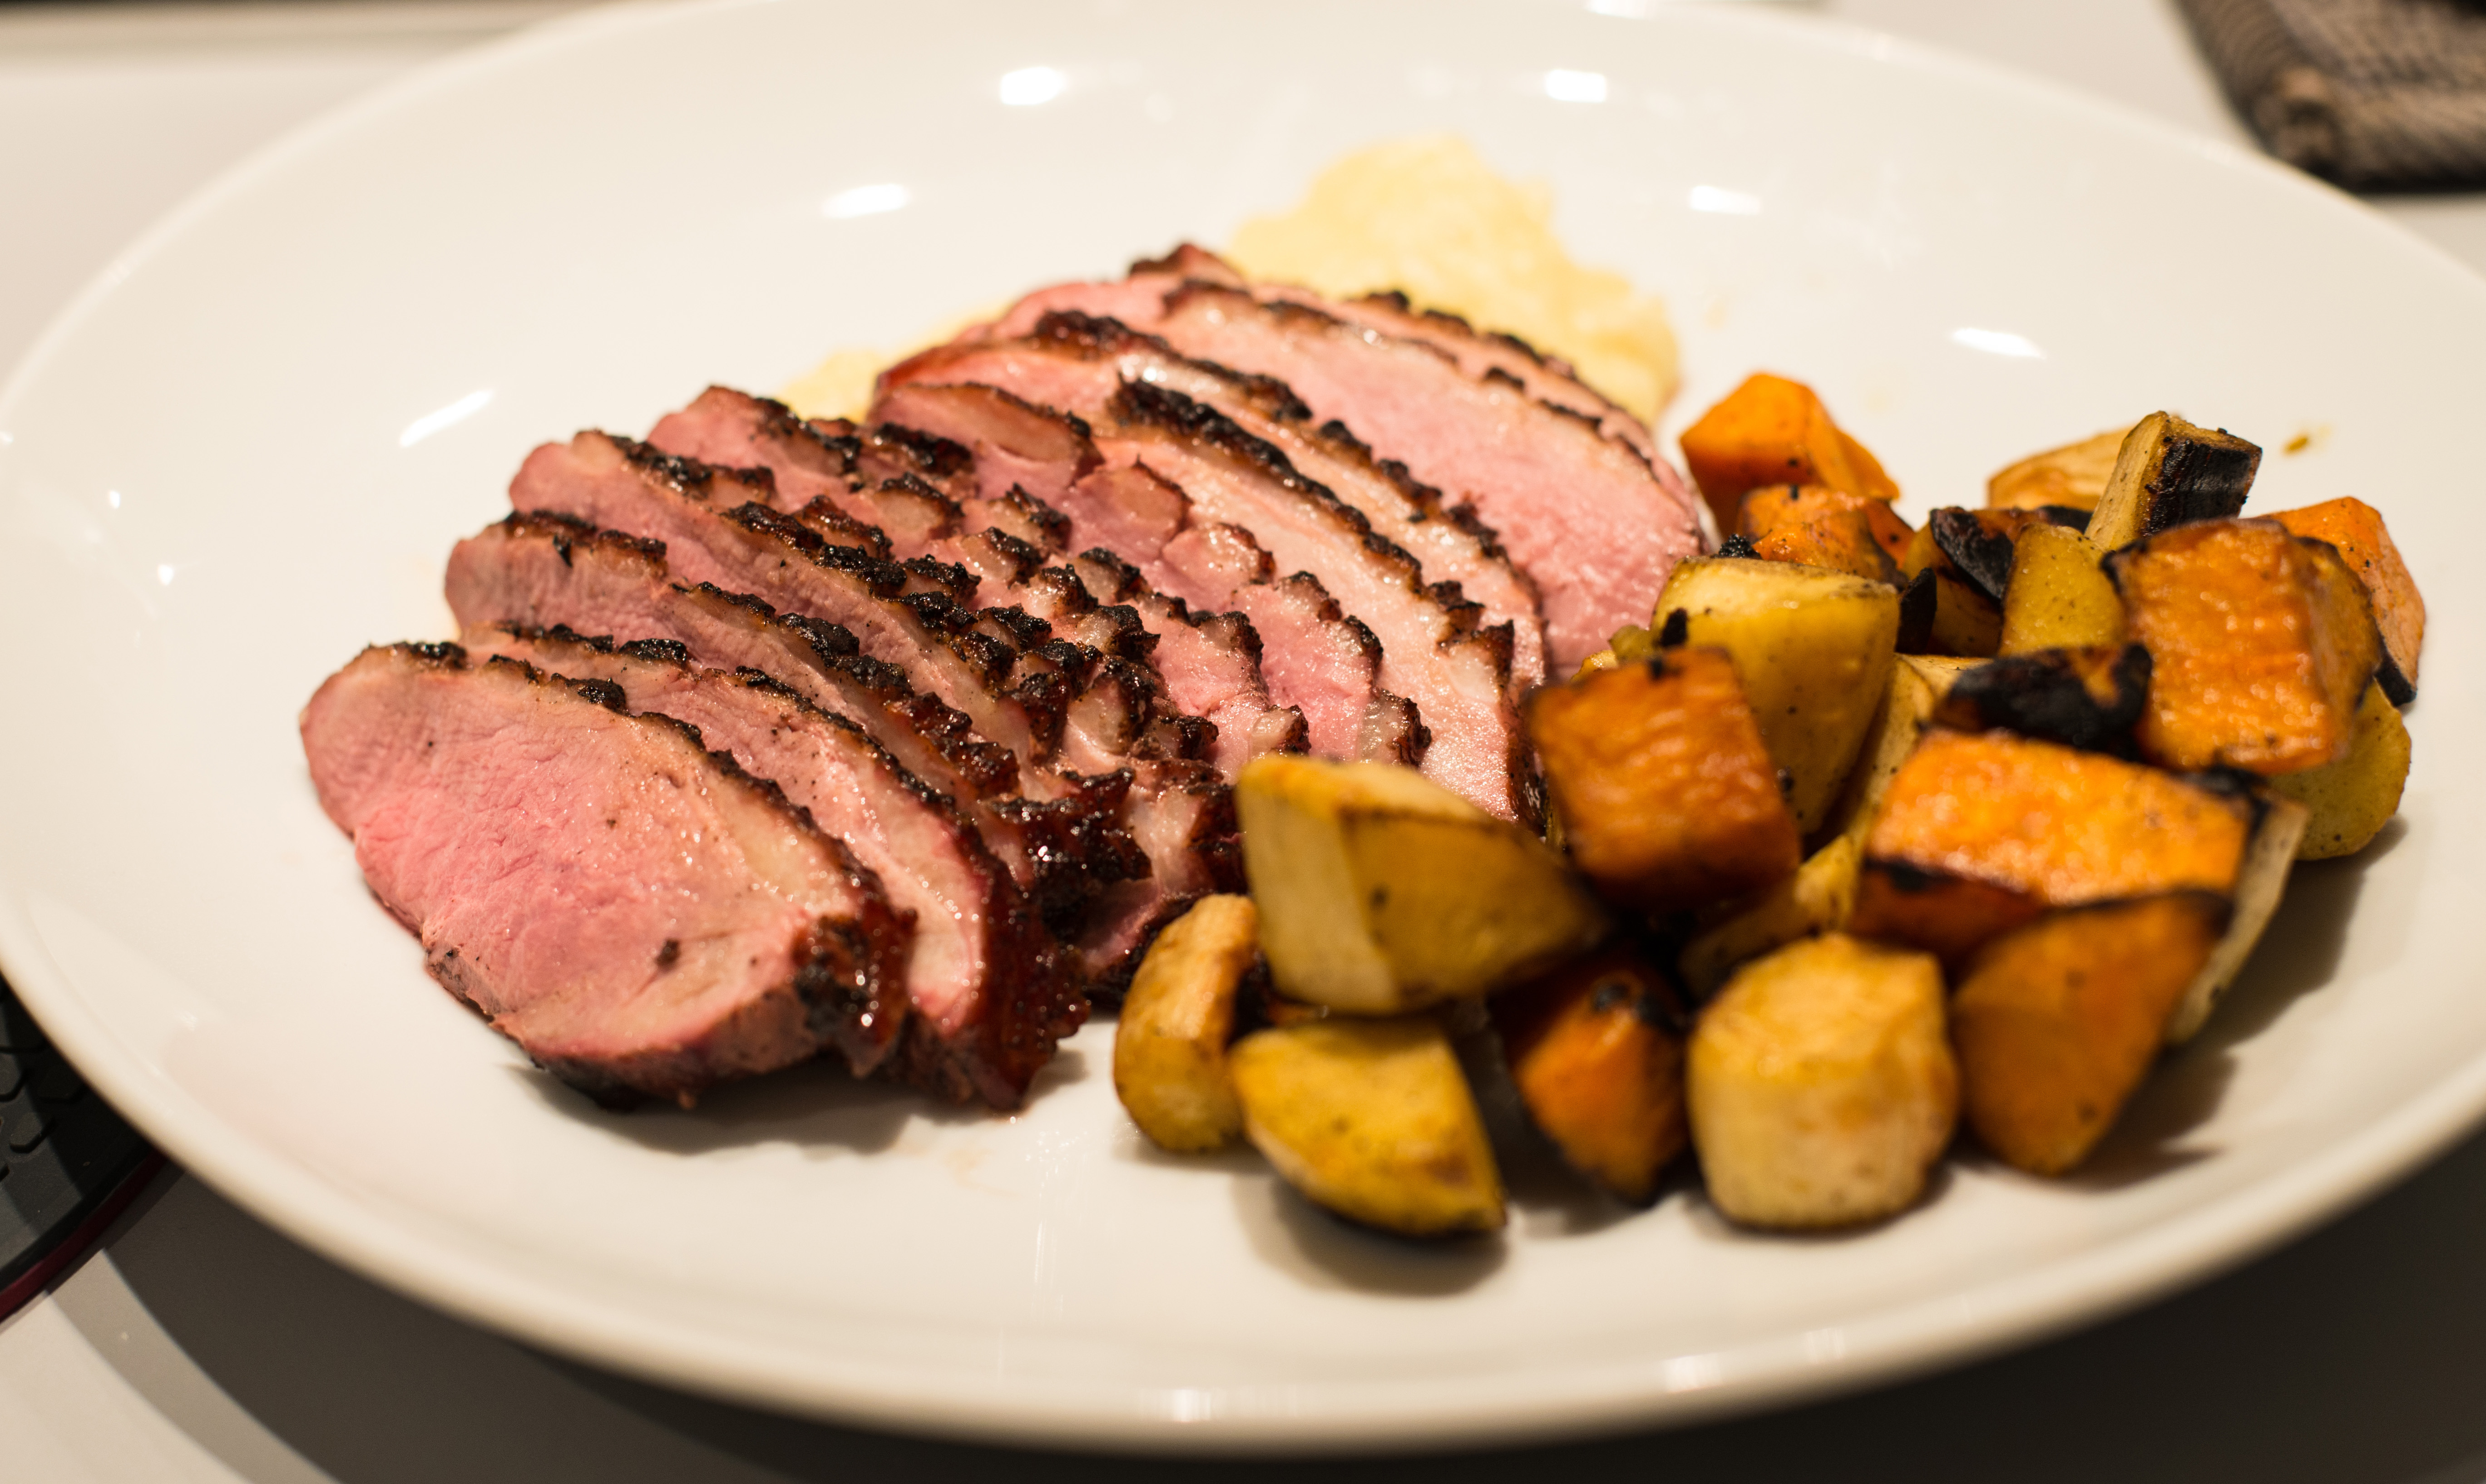
Tastes great with some grilled corn salsa, coleslaw and homemade bourbon-pickled jalapenos!
The last year I have had a personal focus on eating healthier and working out. Does that have to mean less BBQ? No, of course not. It means more BBQ. And one of the most protein-rich, low-fat foods you can put on your smoker is the chicken breast. However, due to the low fat content and the temperature levels you have to cook them to, they can easily end up being dry and bland. Some months ago I saw a (stupid) comment from someone about how you “had to” employ sous vide techniques to make a good chicken breast. Of course you don’t, as we all know EVERYTHING tastes better smoked or grilled (don’t get me started on the whole sous vide first and then smoke it debacle, it doesn’t even come close to real BBQ, and you know it). So I have experimented for a while, and believe now that I have found a very good (perfect?) way to make chicken breast! We will combine low and slow BBQ with the method known as the reverse sear, and some glazing in the end to achieve perfection while cooking outdoors. Let’s go!
What you will need for 6 filets:
- 6 large chicken breast filets
- 6 strips of quality dry smoked bacon
- Some BBQ sauce for glazing (I like to use this one, but you can buy a good one too of course)
Serving suggestions:
- I like to serve with some good coleslaw, maybe some grilled corn salsa (recipe to come later…) and some good homemade bourbon-pickled jalapenos. Some bratwurst is never a bad idea either!
Preparations (15 min):
- Set up your grill or smoker for indirect cooking and try to stabilize grate temp at
 around 100C/212F
 - I like to rinse the filets under cold water and then pat them dry with kitchen towel. You can brine them too if you like that, but I don’t find it necessary using the method we will use
- Season the filets. I use salt and pepper only for this, but you can use your favorite rub for more spiciness too if you like.
- Once rinsed and dry, roll/fold the filets lengthwise into a ball that is uniform as possible. This together with low temperature smoking will aid in even cooking throughout, plus it looks cool. Wrap a strip of bacon (or two, cross-wise if you’re feeling like partying) around the filet, and use a small wood skewer to hold it all in place.
- Chicken is now ready to go!

How to cook it (120-150 min):
- Place your chicken balls safely on the cold side of your grill smoker. Throw some (cherry/apple) wood chips on if you like, I don’t find it necessary on my lovely Primo Oval XL, I get enough smokiness just from the lump charcoal I use. Either way go easy on the smoke, poultry is easily oversmoked.
- Stick a thermometer probe in the largest one and keep an eye on the temperature throughout cooking. On around 100C/212F grate temp it usually takes a bout 90 minutes to get to the desires temp, which should be about 65C/149F (not safe for eating, but we are not done yet!)
- Once the chicken has reached 65C/149F, take them off the grill, and get the temp up a bit. Heat up a grate over the coal side of the grill, because we will do some searing next
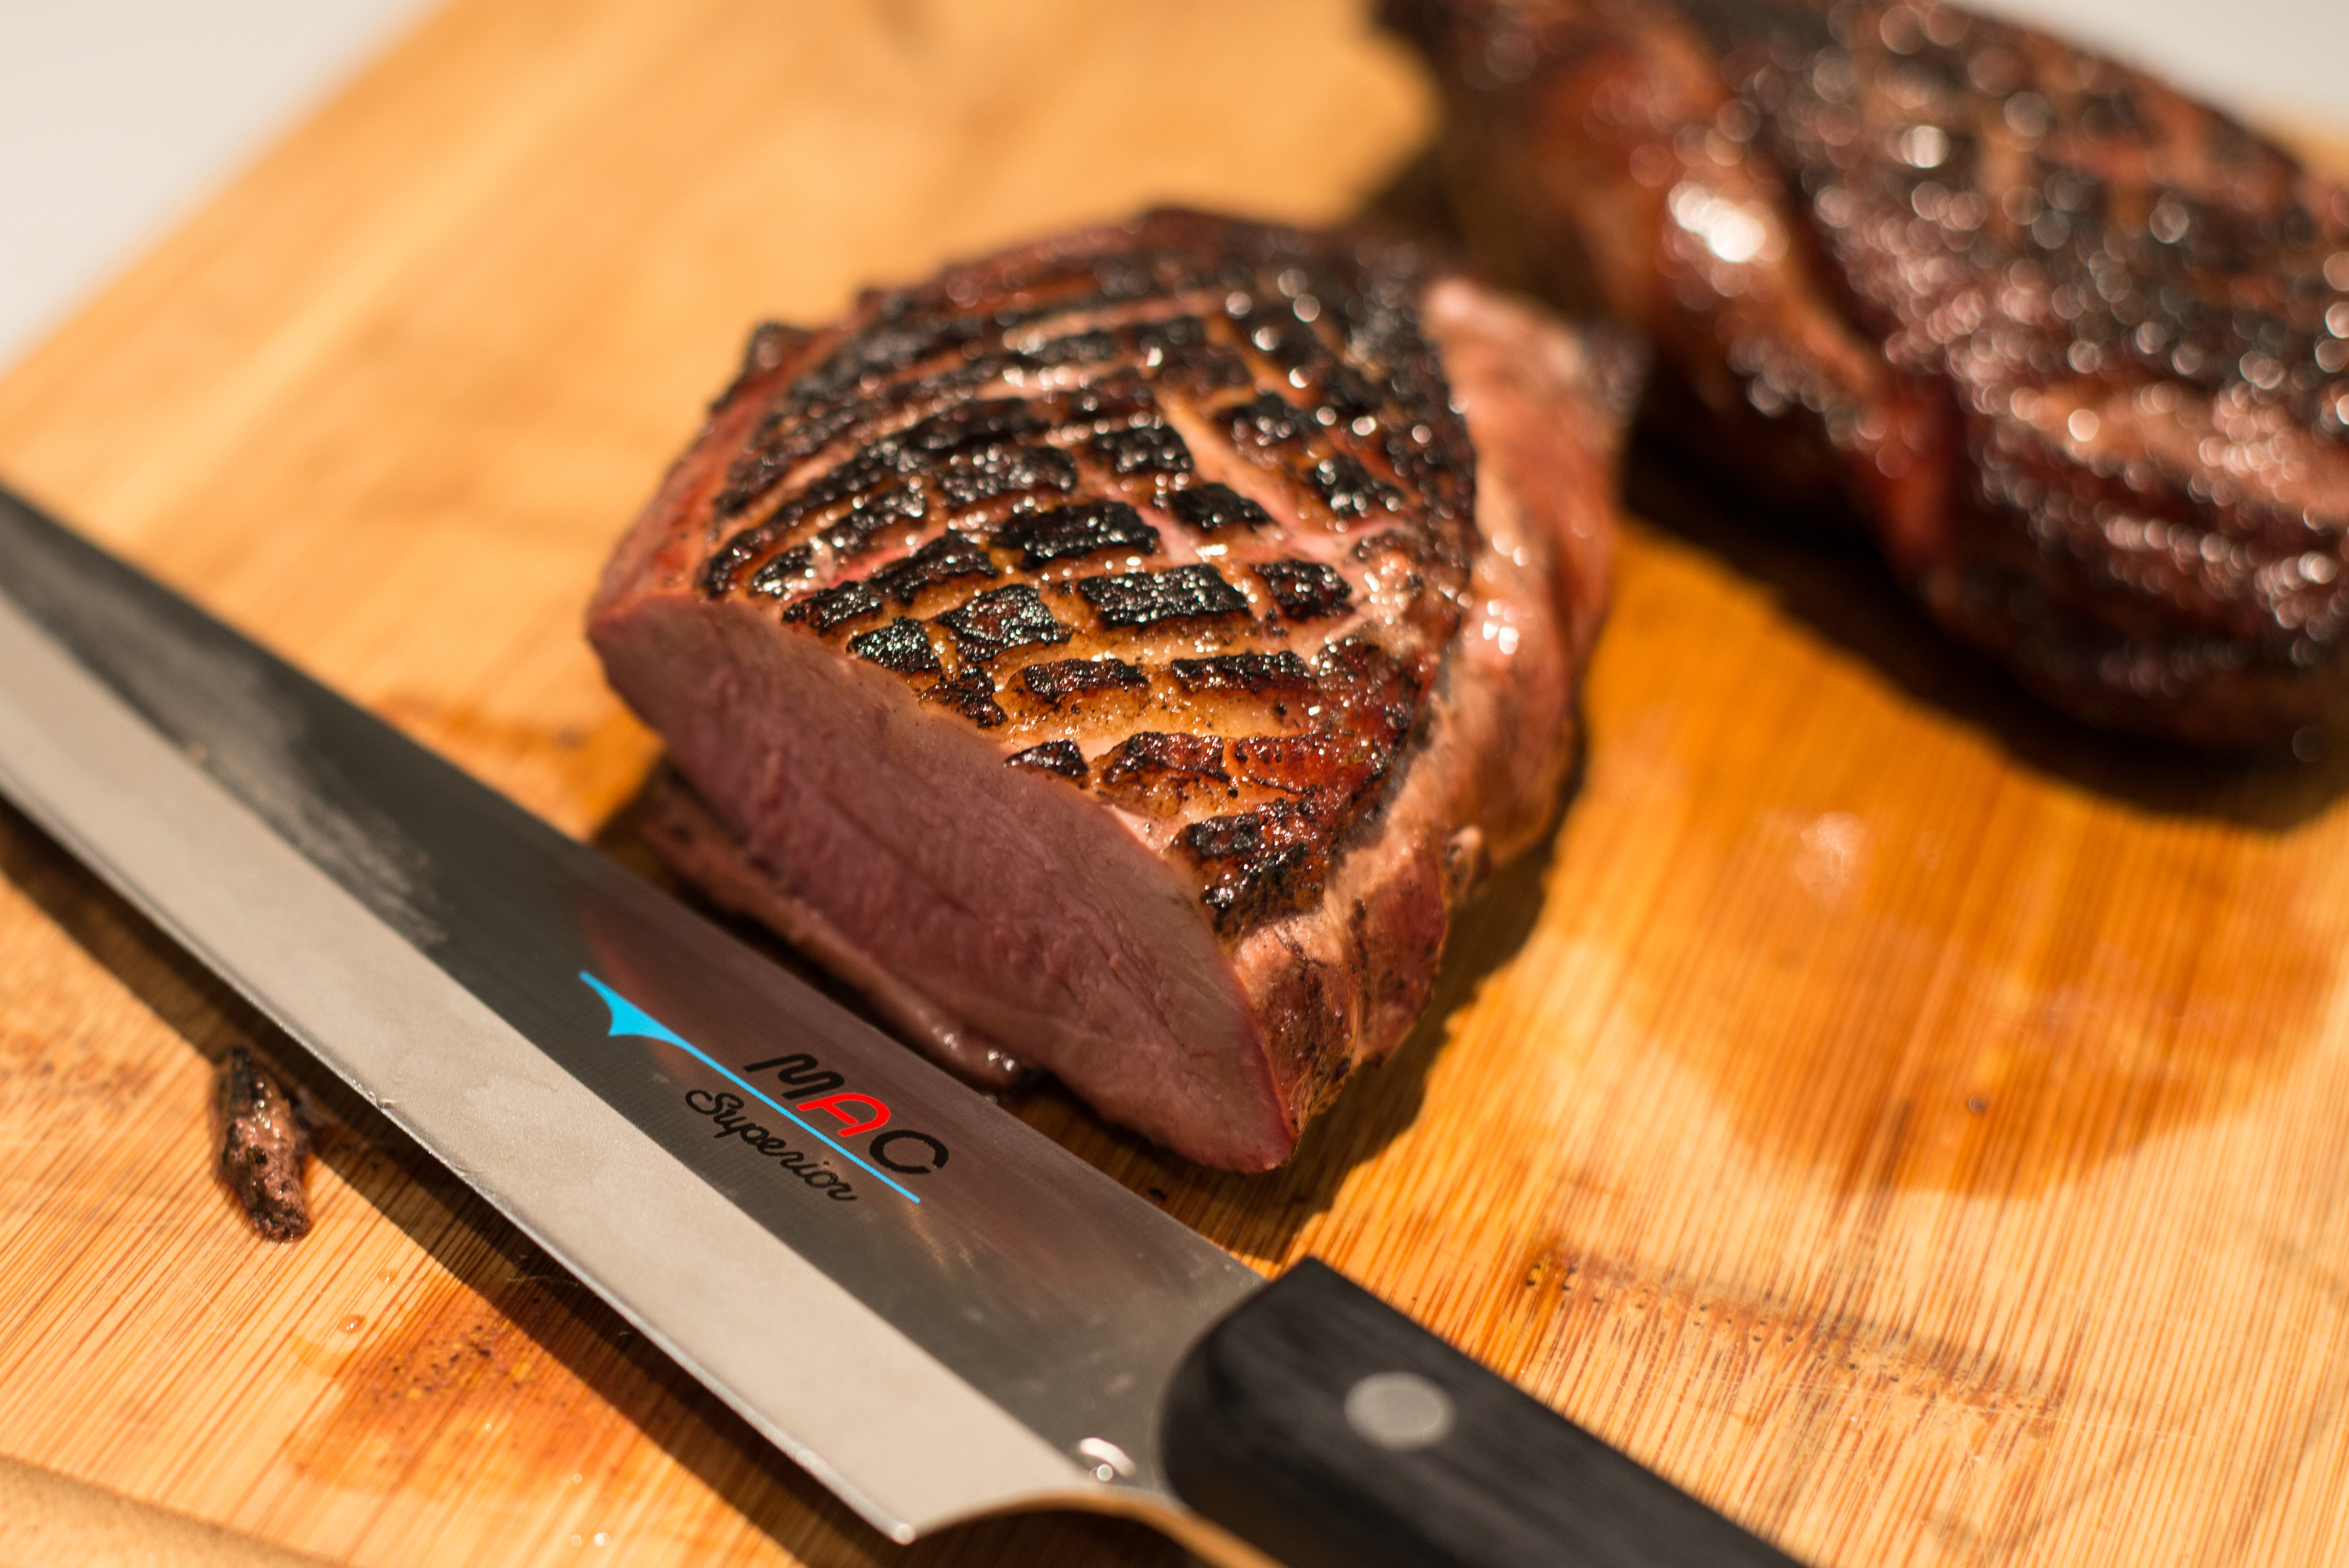
- When the grate is nice and hot, get the chicken balls nicely seared on all sides. This
 should bring them up to around 70C/158F.
 - Once searing is done move them over to the cold side of the grill again, and brush them with the BBQ sauce selected earlier. I normally have a grate temp of around 150C/300F at this point, try and keep it at that or lower, or the sugar in your BBQ sauce will burn and create bad flavors
- Let the filets glaze for 5-10 minutes. At this point I check each one with my ThermaPen, to see if I have reached the safe temp for chicken (USDA says 165F/74C, and I agree)
 Once they reach the correct temp, take them off the grill and let them rest 5-10 minutes. Serve it up and enjoy the juiciest, most delicious smoky chicken filets you have ever eaten. Perfection!