Make your own craft beer mustard

Soaking mustards seeds in delicious beer!I am big into craft beer these days. I have a particular fondness for American style, hop-crazy IPAs and double IPAs. So I decided to try and make some mustard with an IPA twist to it. If you prefer, you can use other beers as well, I have tried some strong tasting stouts and had success with those too. Mustard is easy and fairly cheap to make, and since the whole process requires no cooking, tasting and adjusting while going along is easy! So why don’t you make your own mustard to go with those delicious smoked brats?


Time: 60 minutes work, 18-24 hours total incl. waiting
Skill Level: Easy

You’re going to need:

  • 200 grams of mustard seeds (a 50/50 mix of brown/yellow works fine)
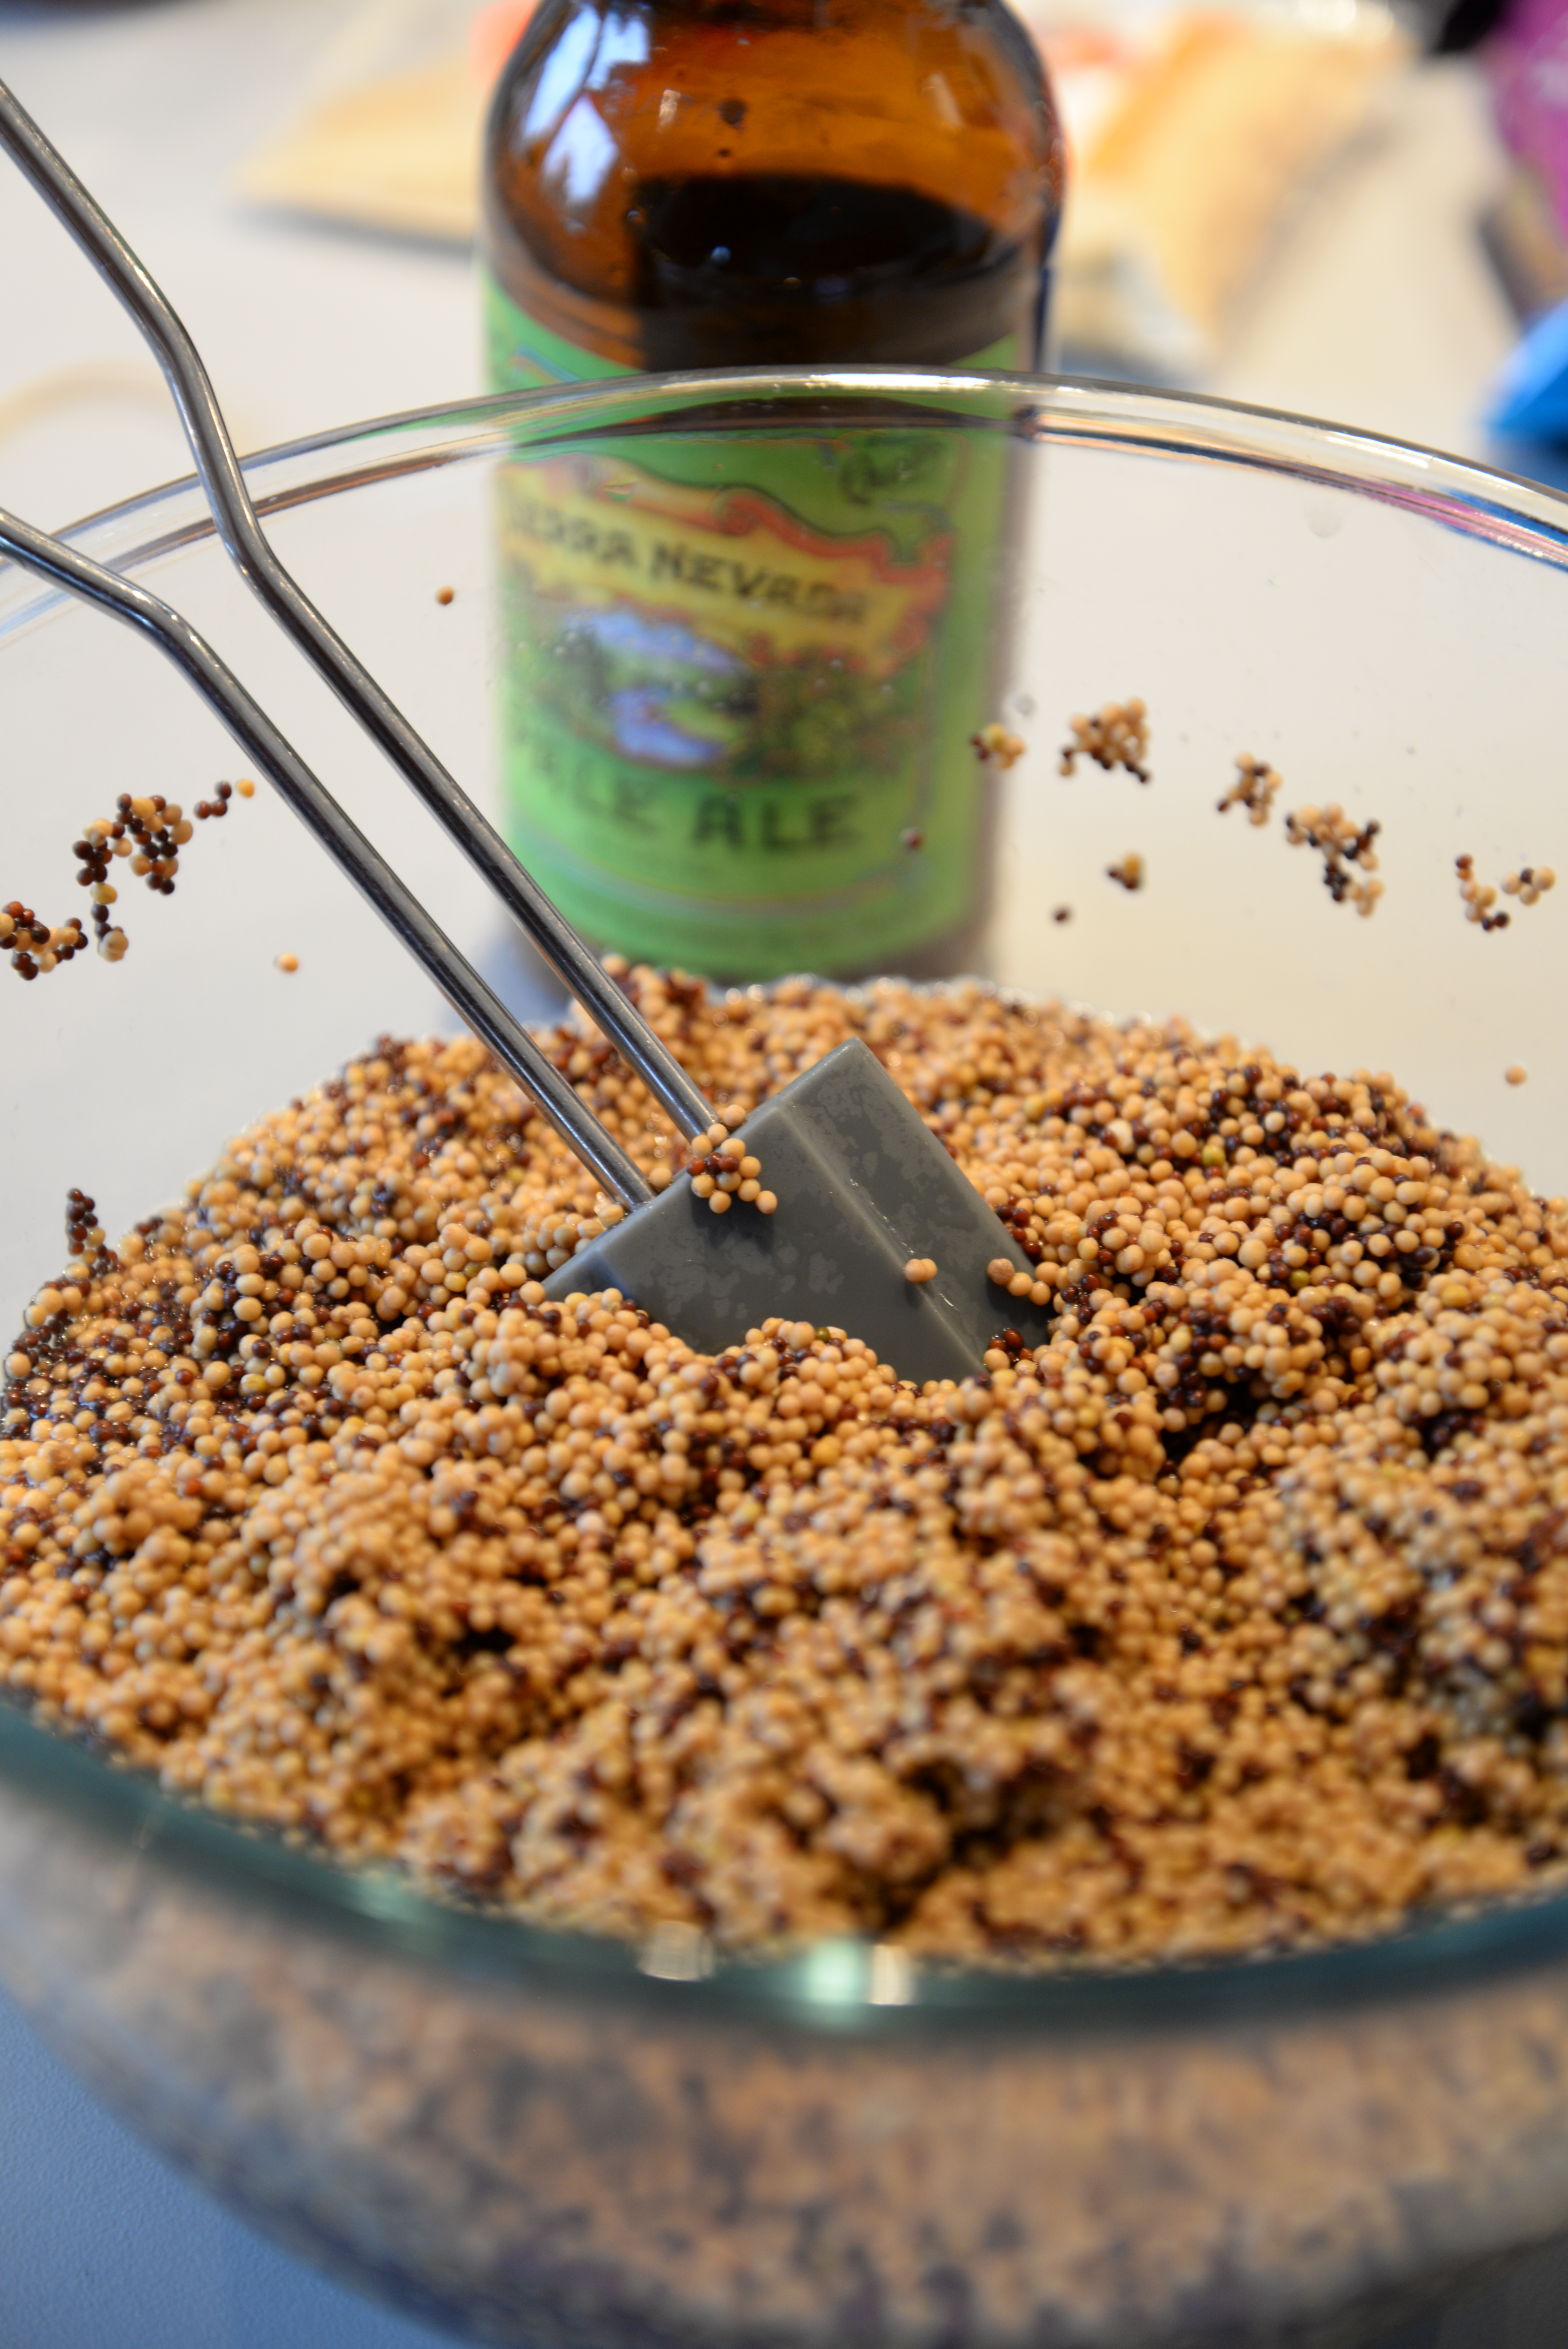
  • A small bottle (12 fl oz/330ml) good beer, I like to use a hoppy IPA
  • 1-2 tsp sea salt
  • 1-2 teaspoons of chili flakes
  • 6 tablespoons of honey, maple syrup can also work well
  • 0.5 cup of good vinegar (I prefer white wine vinegar for this mustard)

How to do it:

  • The night before making the mustard, put all the mustard seeds and your beer into a DSC_1624bowl, mix well, and leave overnight. This will allow the seeds to soak up all the beer.
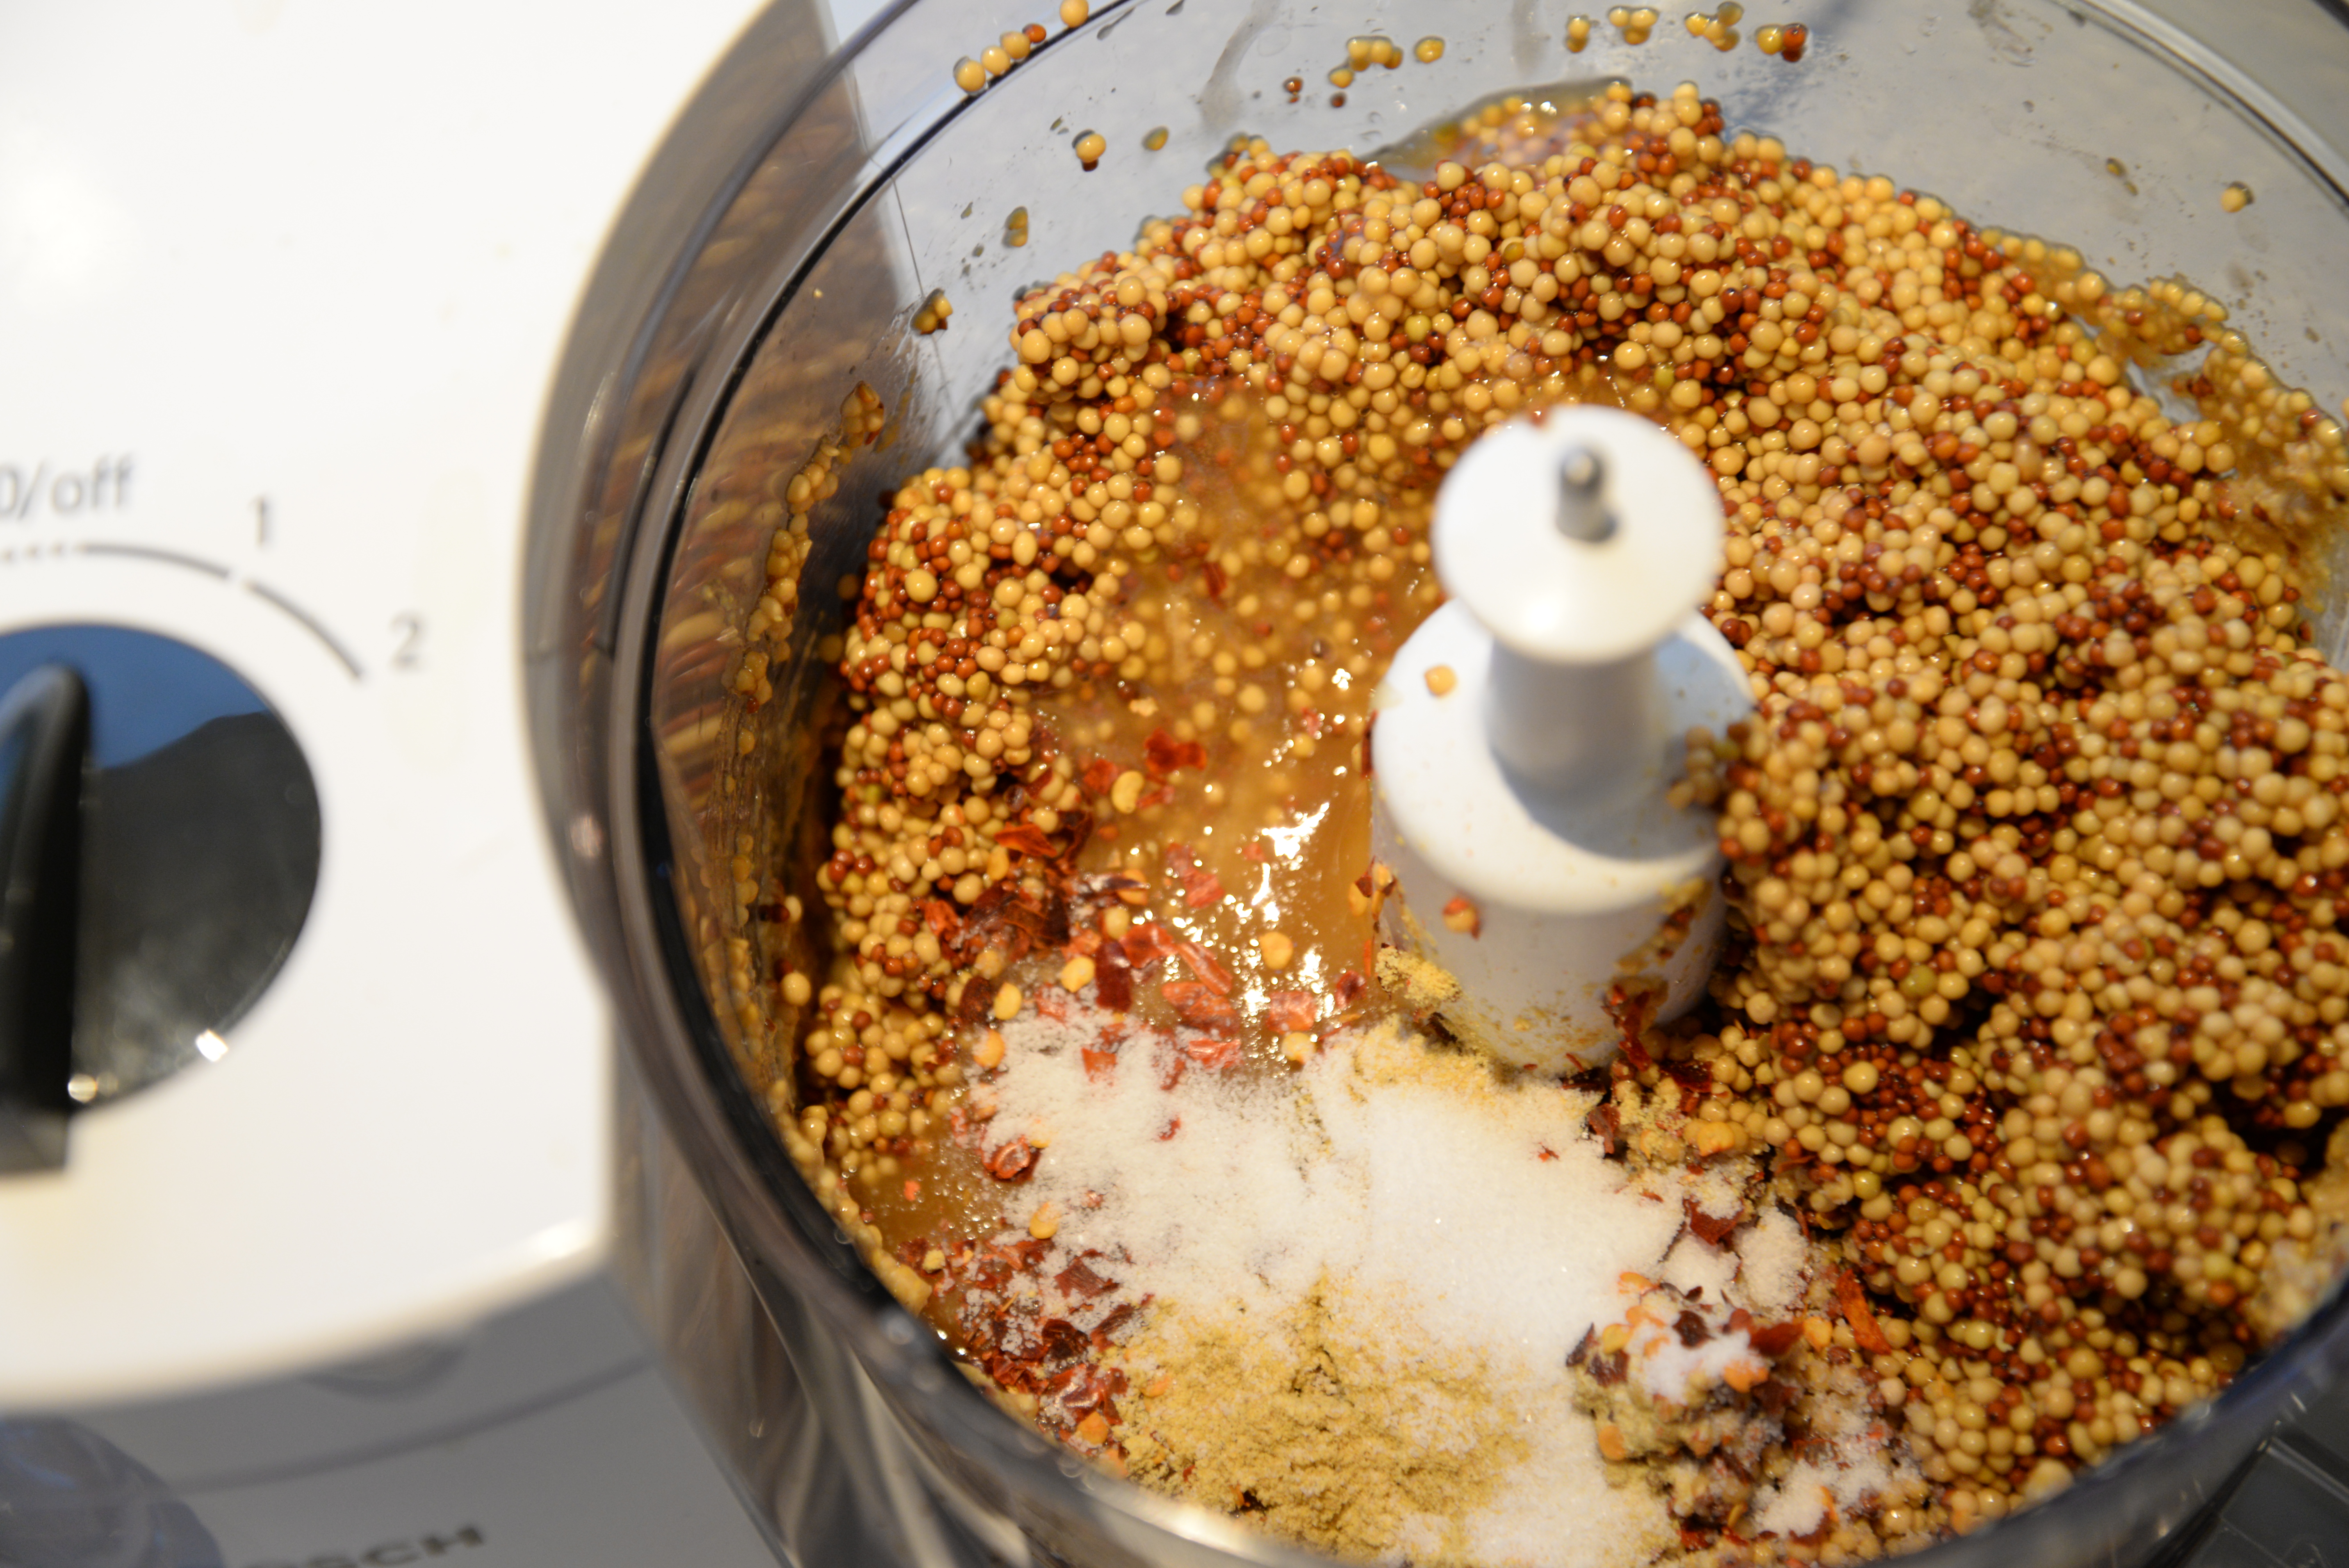
  • Once soaked overnight, put the mixture in a food processor. Add remaining ingredients, pulse until you’ve got the consistency you like. If the mustard is too dry for you, add some water if needed
  • Since this is a no cooking process, have a taste, and balance out with honey, vinegar, salt and chili to your tastes
  • If you put this stuff in sterilized jars, it will last you weeks/months. Your mileage may vary here.
Advertisement

Great winter BBQ activity: Cold-smoke some cheese on your kettle!

Ecological Brie, Camembert, some Port Salut, and some mature Cheddar, ready for the smoker.

Ecological Brie, Camembert, some Port Salut, and some mature Cheddar, ready for the smoker.

I’m a big fan of the French kitchen, and I’m also a big fan of go big or go home. And what could be more gluttonous and over the top than going with a nice plate (or cart if you have one) of cheese for dessert after a BBQ feast? You tell me. Anyhow, it’s cold here now, freezing every single day, so it’s real easy to keep the kettle low in temperatures. This makes the weather perfect for smoking some cheese, because you really don’t want it to melt all up in your kettle now, do you? This was my first go at smoking cheese, so I bought some different ones they had at the local supermarket, just to do a test. In the pic above you can see the candidates, and since most of you don’t know Norwegian, I will explain. There are two soft cheeses, both Norwegian, ecological versions of French staples Brie and Camembert. Then there’s a Norwegian version of Port Salut, and a good Mature Cheddar from England. A hot tip btw is taking a picture like this of your arrangement, so you know which cheese is which when they come back in the kitchen. Take note that the cheese will taste best if you do the smoking some time before eating. I did it the day before, and they came out great. We found the hard cheeses came out best, which makes sense since the soft ones have this protective layer on the outside. Maybe next time I’ll try slicing the soft ones lengthwise into two circular “bowls” and see if that makes them smokier. A lot of people recommend Pepper Jack and Monterey Jack cheeses, so if you can find those where you’re at – I’d go for those! Gouda should also be a good alternative.

This is what they looked like after 2 hours of cold-smoking using hickory chips

This is what they looked like after 2 hours of cold-smoking using hickory chips

What you need:

  • Cheese for smoking
  • Some lump charcoal, or briquettes
  • Smoking wood chips (I used Hickory, but Pecan or others should be great for this too)
  • Honey, maple syrup, dried fruit and some crackers could be useful for serving. For drinks I’d go with some strong, sweet Trappist style craft beer (Chimay, Rochefort), or some dessert wine.

Preparations:

  • Make a very small fire on your kettle all the way off to one side. Make it as small as possible, just enough to keep the chips smoking. As the goal here is cold-smoking, this would best be done in winter, and if the sun is shining, keep the kettle in the shade!

The setup for cold-smoking cheese

How to do it:

  • Unwrap cheese
  • Place on cold side of smoker on a clean rack
  • Make sure you keep the smoke going all the time. I smoked the cheese for about 2 hours, and it seemed about right
  • I mellowed the cheese in the fridge overnight, wrapped in plastic. Some people claim the smoke flavour will spread better through the cheese after a couple of days or even a week. Didn’t have time to test this claim yet, but if you do, let me know what you think!
  • Remember to take your cheeses out of the fridge a couple of hours before eating, fridge-cold cheese is not awesome.
  • Enjoy!

Deliciousness!